Double-Click Issue with Logitech M570 Mouse
The Issues
- Single clicking the left-mouse button generates a double click
- Clicking and holding the left-mouse button generates a double click, which prevents the user from highlighting text or drag and dropping things
The Cause
The mouse switch under the left-mouse button is faulty.
The Solution
Replace the mouse switch. This is the switch I used https://www.amazon.com/dp/B08K9FSSLH?psc=1&ref=ppx_yo2ov_dt_b_product_details.
What you’ll need
- Screw driver
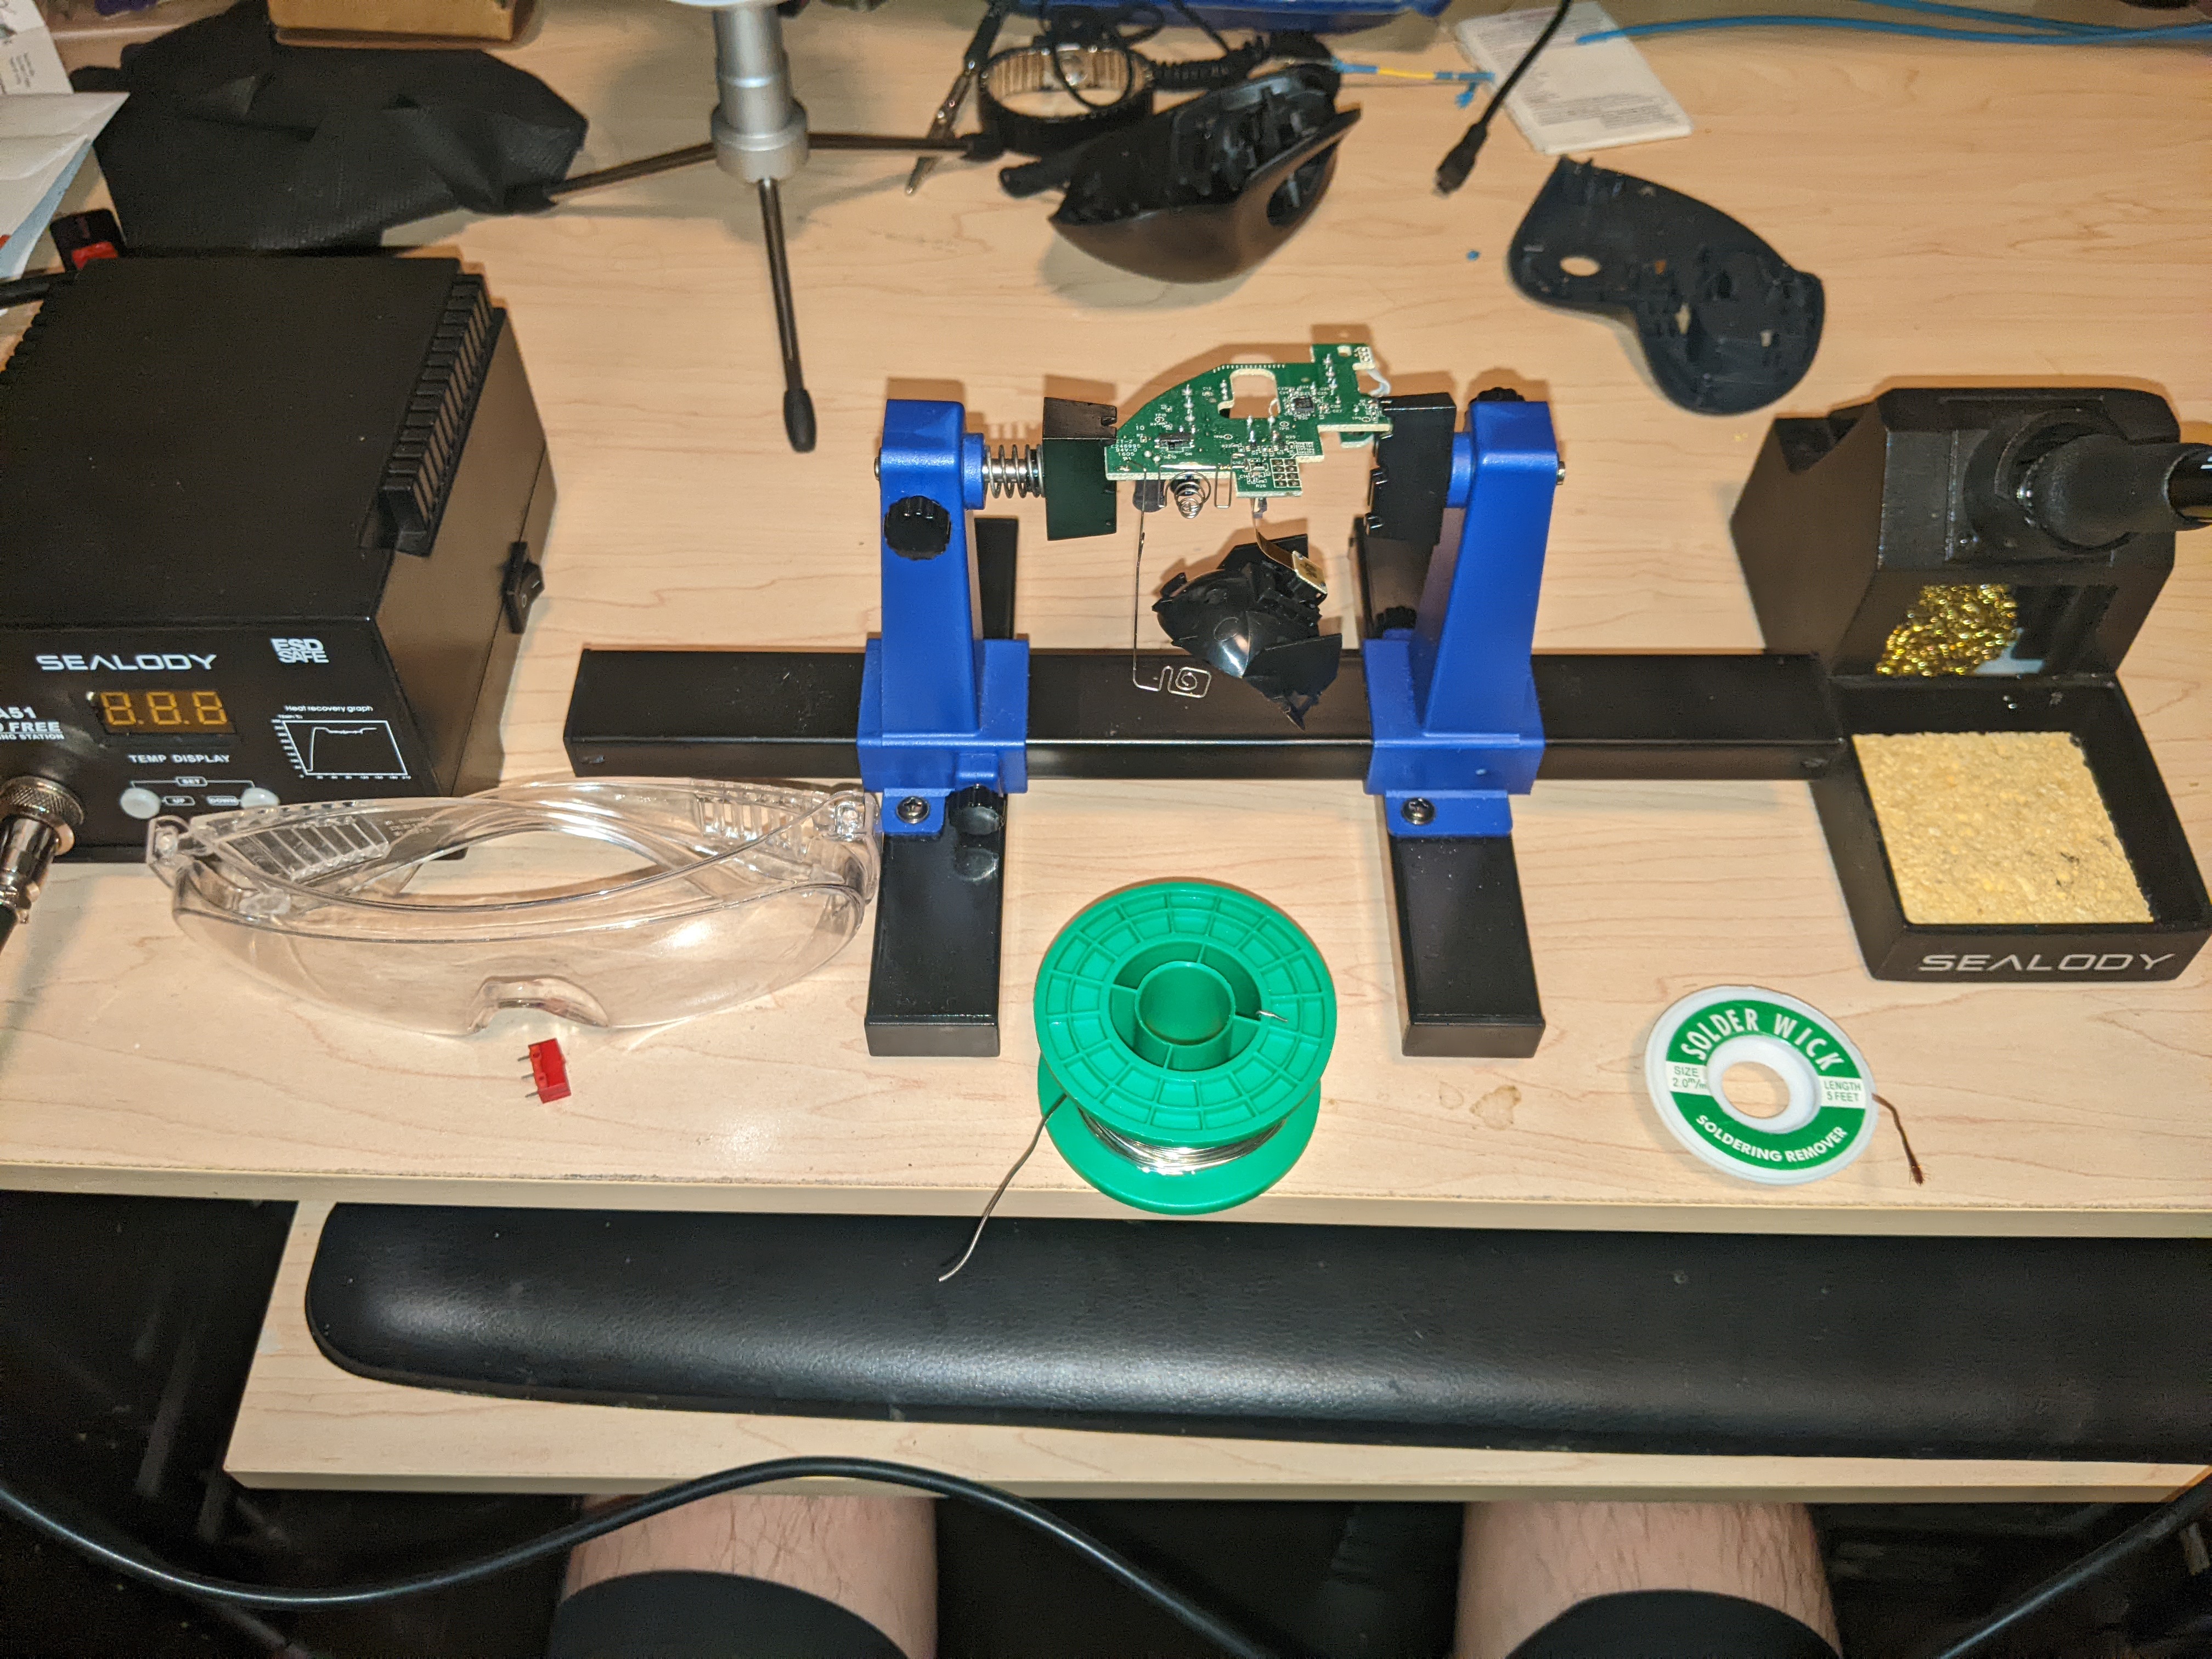
- Soldering station
- Solder
- Safety googles
- Solder flux
- Helping hands
- Solder Sucker
- Mouse switch
- Solder wick
The Fix
- Turn off the mouse.
- Remove the battery.
- Remove the track ball from the mouse.
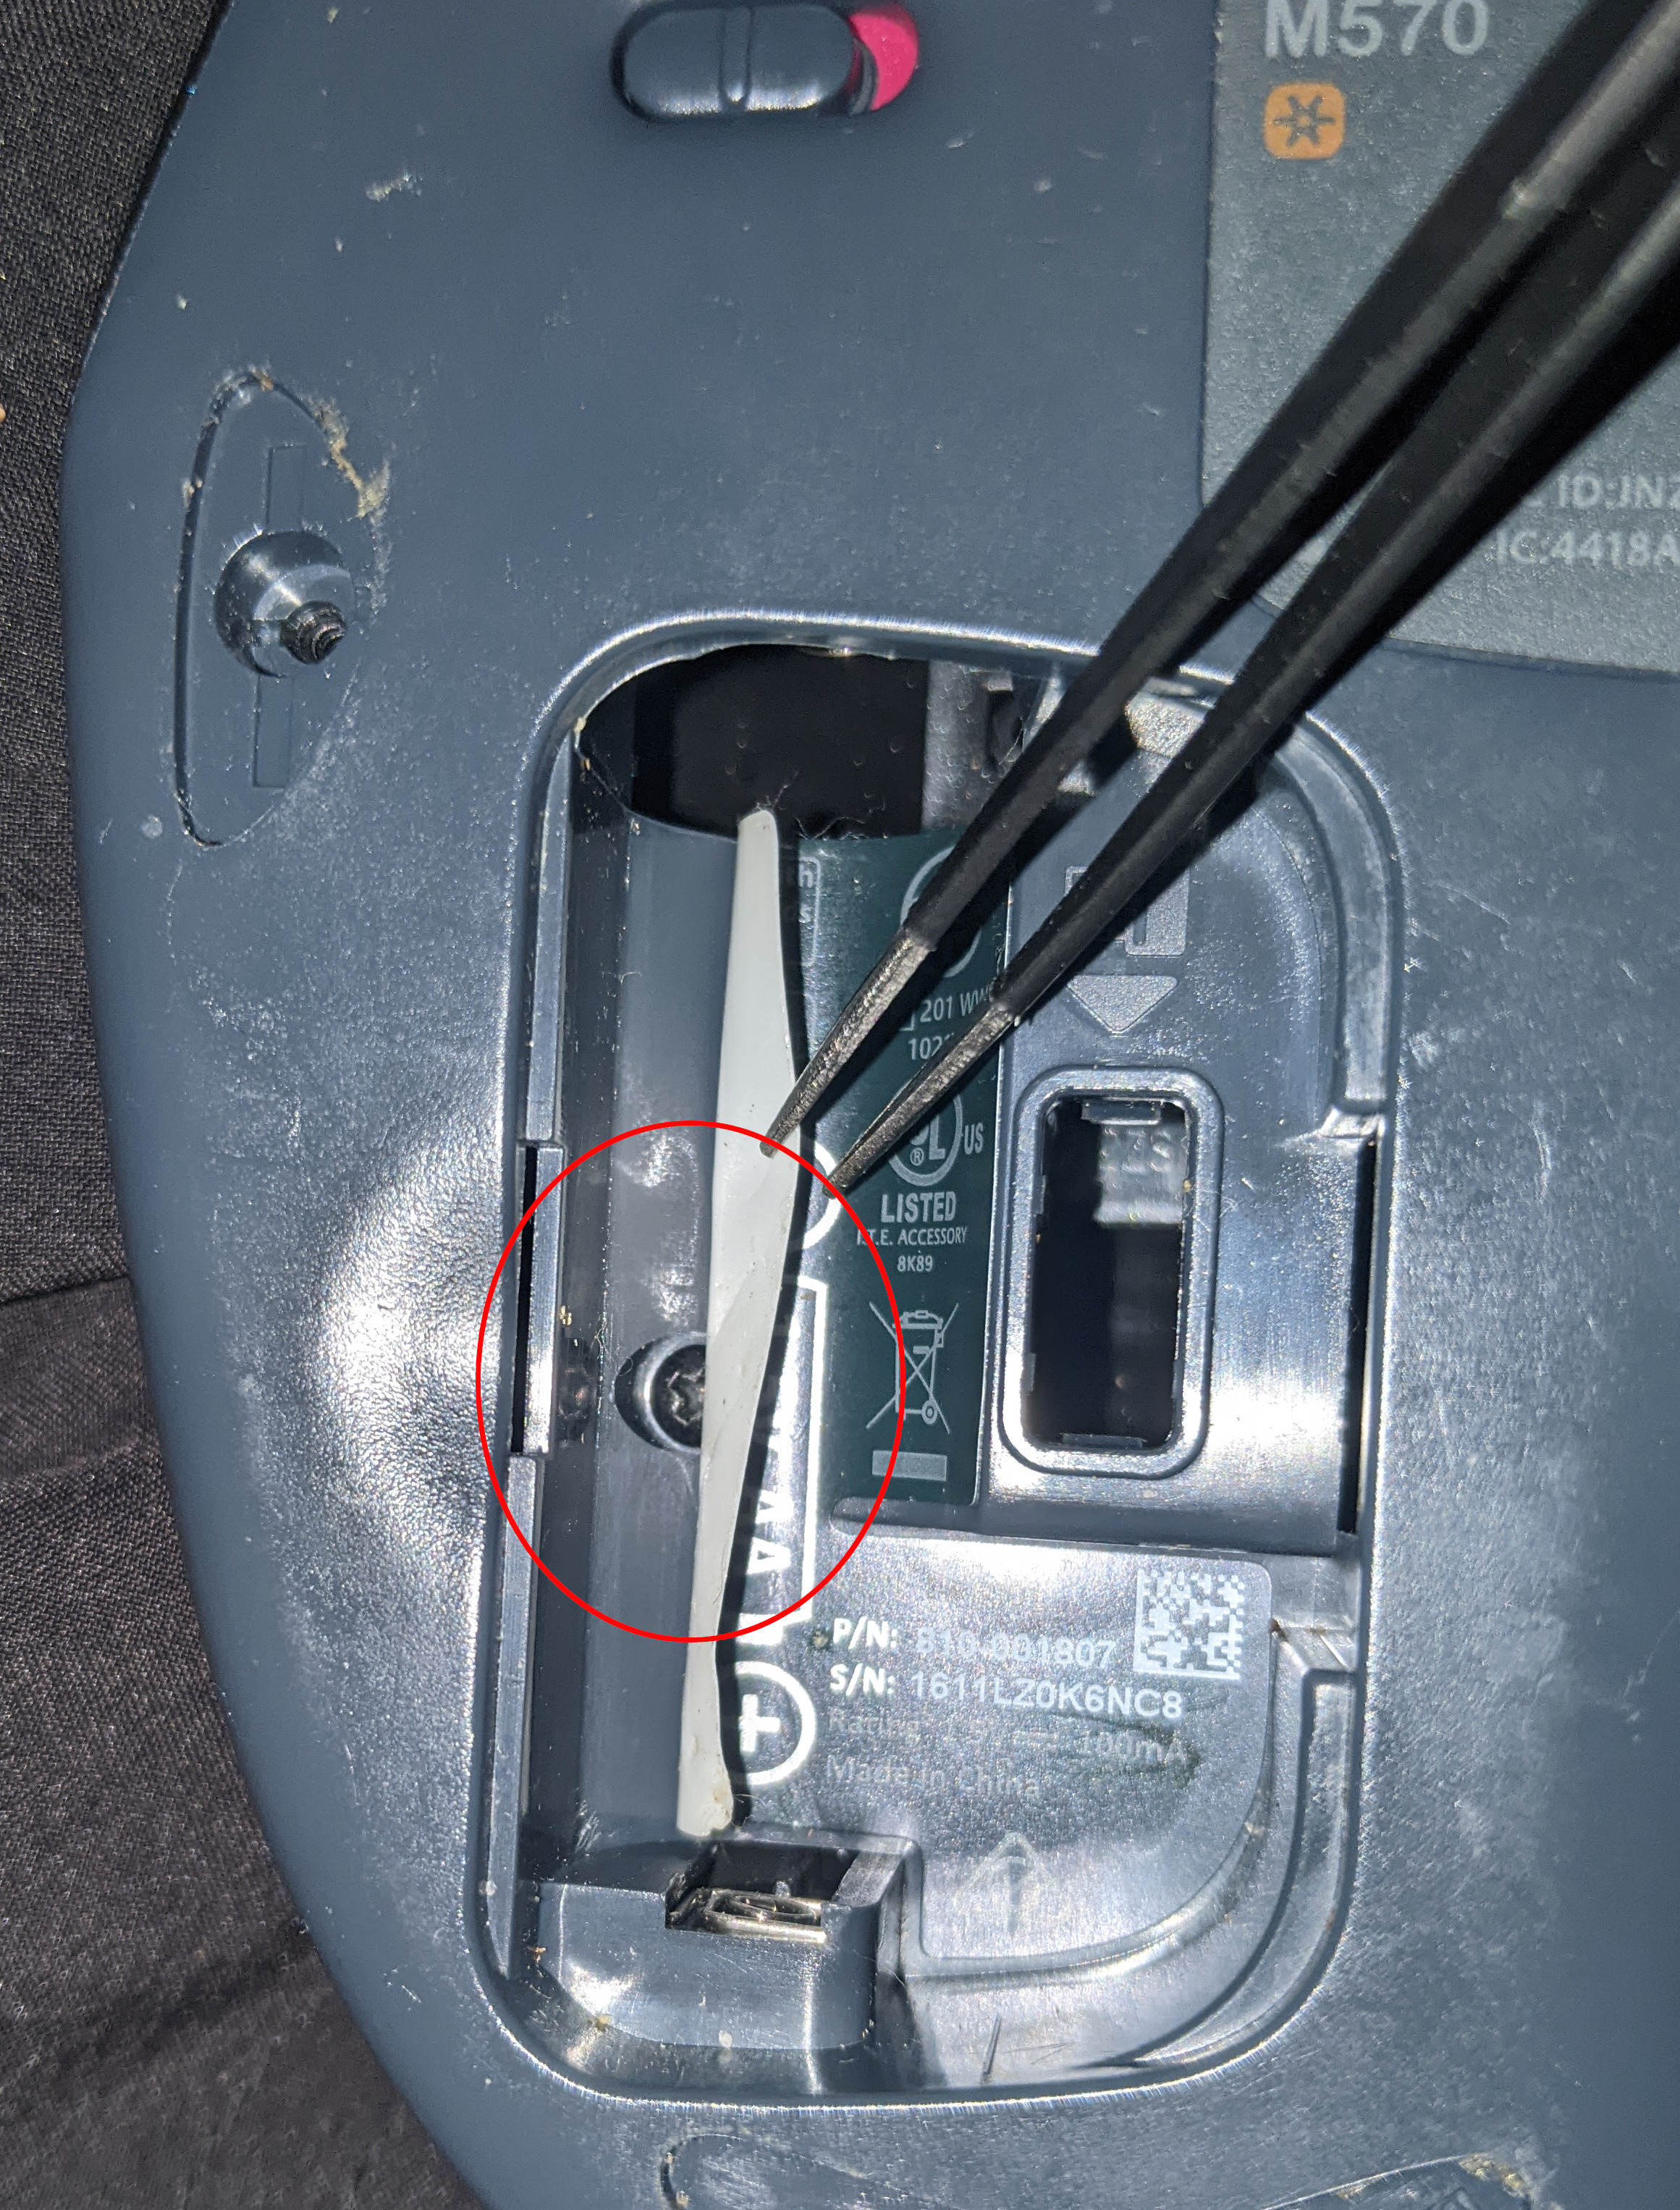
- Remove the highlighted mouse feet.

- With the screw driver, remove the highlighted screws.

- There is a screw under the battery sticker. Peel the sticker back to gain access to the screw and remove it.
- Open the mouse case.
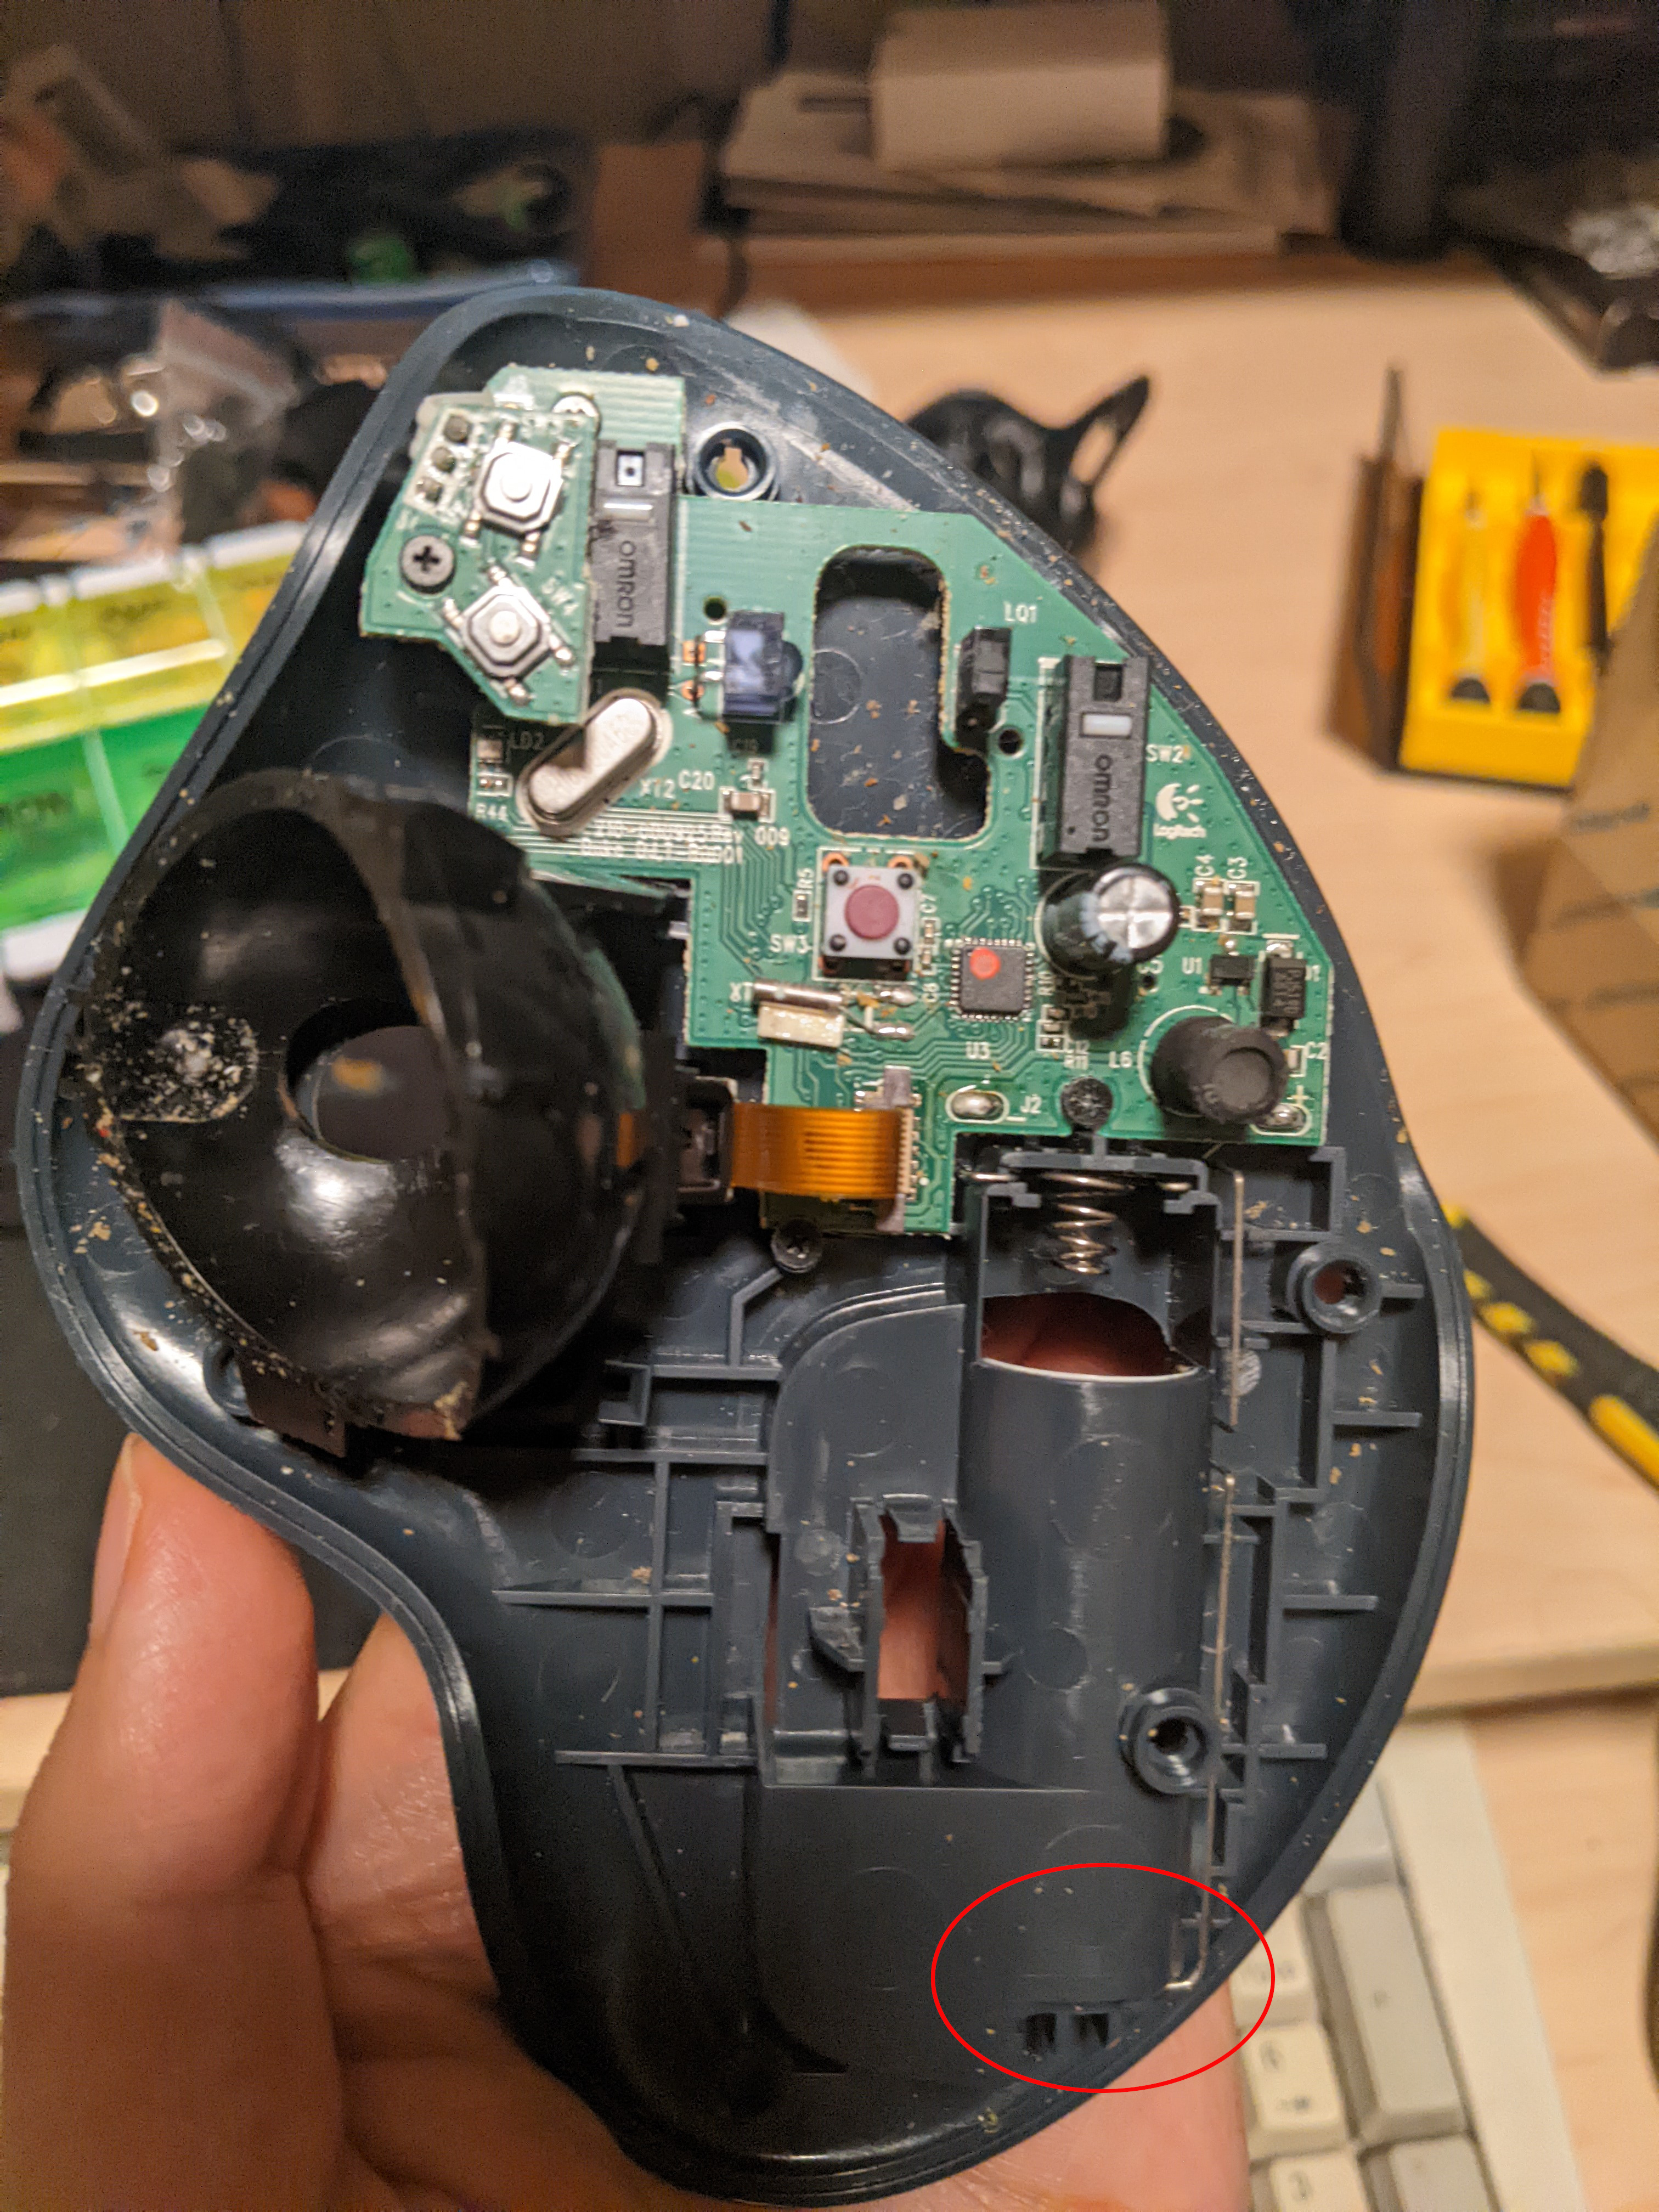
- Remove the highlighted screws.

- Unseat the highlighted battery connector.
- This is the switch we will remove.

- Extract the circuit board.
- Be careful when removing the bottom of the mouse case, the on-off switch may fall out.
- Flip over the circuit board and place it in your helping hands. This is the switch we will remove.

- Remove these 3 solder joints by doing the following:
- Heat up your soldering iron to 350 C (662 F).
- Tint your soldering iron.
- Arm your solder sucker.
- Place the heated and tinted soldering iron to the first joint.
- Once you see the solder melt, press the solder-sucker’s tip to the joint and release the release the solder sucker.
- Remove the soldering iron.
- Repeat steps 12.1 – 12.6 for the next 2 solder joints.
- If you are having trouble removing the switch, then you might have a bit of solder left on some of the joints. Use the solder wick to remove any excess solder.
- Put the new switch in the correct orientation (it should match the same orientation as the right-mouse button). You will need something to hold the switch in place while you solder. I used a second pair of helping hands.
- Apply the solder flux to each joint.
- Solder each joint.
- Clean off any remaining flux.
- Place the circuit board back into the mouse case — be careful not to lose the on-off switch.
- Place back the battery connectors.
- Screw in the circuit board.
- Put the mouse case together.
- Before screwing together the mouse case, make sure the mouse buttons click fine. If not, then the circuit board may be improperly seated/screwed in.
- Click the forward button
- Click the backward button
- Click the left-mouse button
- Click the right-mouse button
- Click the mouse wheel
- Screw the mouse case shut.
- Put back the mouse feet.
- Put the battery and track wheel back in.
- Enjoy!